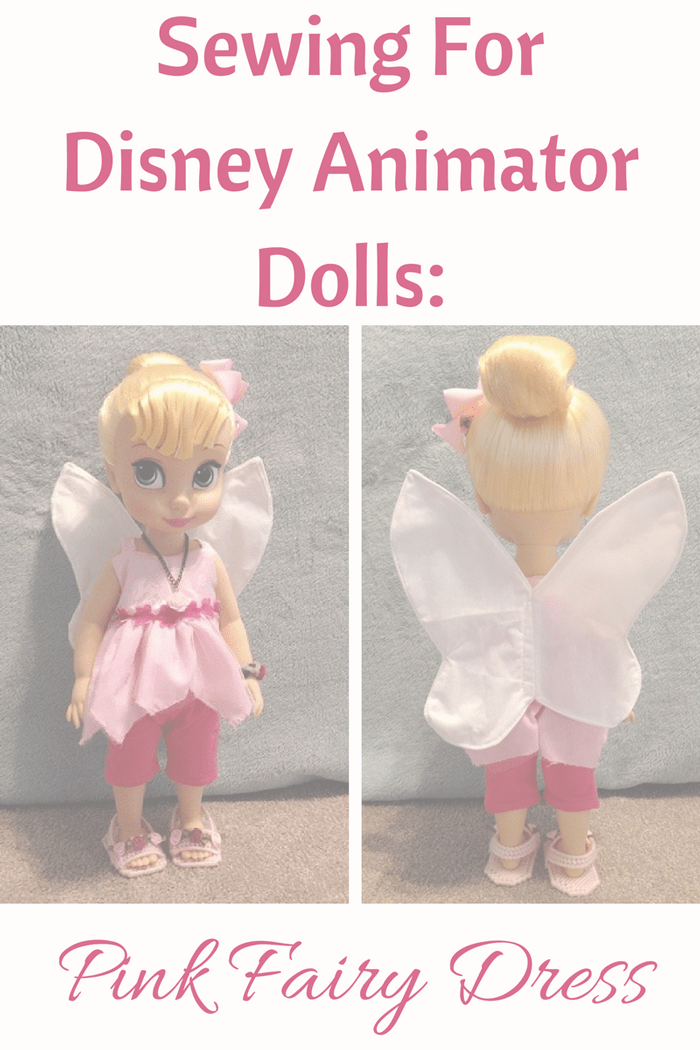
Hi, everyone! For the next two posts, I thought I’d show off some of the outfits I’ve designed for our Disney Animator dolls. This first one will feature Tinker Bell and her adorable, pink, fairy dress!

This is officially the cutest outfit in Tinker Bell’s wardrobe!
Below are pictures of her other two outfits. The first is her “Cowgirl Shirt and Jeans” and the other is her “Birthday Dress”:

Even though the Fairy Dress is my favorite so far, I think all three outfits turned out pretty good. Especially given that they all came from patterns designed for 18″ dolls. I know it’s ridiculous, but I have yet to buy a pattern actually designed for DAC dolls–although I’ve been eyeing Sugar N Spice & Everything Nice pattern from Oh Sew Kat ?.
Right now though, most of my sewing projects are freebies I’ve gotten from Pixie Faire, with this Simplicity pattern being one of the rare exceptions:

I got this because I’d been wanting to sew a “Tinker Bell” style dress for Tinker Bell, but lacked a decent pattern. When Hobby Lobby finally put some of their sewing patterns on clearance I jumped at the opportunity and snatched up two Disney Princess patterns, making sure one of them contained a “Tinker Bell” doll costume.
Since I am well acquainted with resizing (and often re-sewing) my freebies, the fact that this pattern was intended for an 18″ doll and would have to be tweaked before fitting a DAC doll didn’t bother me.
The Fairy Dress consists of three pieces: the dress, a pair of capri pants, and, of course, the fairy wings.


I admit, I completely ignored the fabric suggestions on the back of the packaging (except for the tulle) and just used fabric I already had on hand.
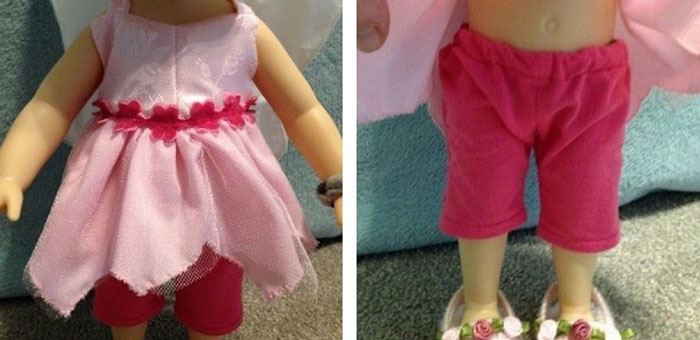
The bodice is sewn from light pink, flower-embossed silk and is lined on the inside with pink quilter’s cotton. Instead of ribbon, I used a strip of bright pink flower trim to accent the dress.

The skirt is sewn from the same pink cotton as the bodice lining and has a very light pink tulle overskirt.

Sewing the skirt was a tiny bit tricky. The instructions tell you to cut out the skirt, but not finish the bottom raw edge in any way. I’m sure this is due to the skirt’s irregular shape. Doing a rolled hem, or any hem for that matter would be difficult. However, an unfinished raw edge was NOT going to work for me. I could just see the skirt threatening to unravel every time I dared change Tink’s outfit!
There was a video though (I think it’s on Liberty Jane’s YouTube channel) showing how to finish a raw edge by doing a zig-zag stitch over it, like this:

I decided to use this technique to finish the skirt’s edge. Sewing a zig-zag stitch over the raw edge gave the hem a bit of a fringed look and, so far, kept it well intact without me having to fold the edges over in a traditional hem. I think it gives it a unique, boho feel.
While resizing the pattern by 75% worked great for the bodice and the skirt width, the length ended up being just a wee bit short. So, I added a pair of capri pants to ensure Tink wasn’t exposed in any way.

The capris are sewn from hot pink, knit fabric. This is one of the rare patterns I designed myself because I didn’t have, nor could I find (at least for free), a pattern for DAC doll pants.

I kept the capris simple. They have an elastic waistband and a plain jane hem at the end of each leg.
You know, now that I think about it, this dress kind of reminds me of Bess’s getup.

Of course, no fairy garment would be complete without wings:

The wings were super easy to make and attach to the back of the dress with Velcro. The pattern calls for tulle and crinoline (or something similar) to create the wings. I didn’t have crinoline on hand, so I used stiff interfacing instead. Aside from not being very symmetrical (due to my apparent inability to sew a curve) the wings turned out perfect!
Here is a view of the dress without the wings:

The pink Velcro on the back is where the wings attach.
Now, for the accessories accompanying Tink’s ensemble: the shoes!
I have a policy that if I can make it I don’t buy it; not necessarily because I’m a penny pincher, but because I like the challenge of creating something. Therefore, doll shoes are something I usually don’t buy, but try to make instead.
Any guesses what Tink’s sandals are made from??

Good ol’ plastic canvas!
The pattern for these shoes is another “Annie’s” plastic canvas pattern. The shoes are designed to fit an 18″ doll, but I found that it is easy to resize them to fit the foot of a DAC doll. In fact, the only change I made to these sandals was to shorten each heel strap by about four holes. They are worked with light pink yarn and have little flower accents sewn to the toe straps.
Finally, we have Tink’s last two items–her hair bow and necklace.

Honestly, there’s not much to say about the bow other than it’s cute and it’s pink…which makes it awesome! I made the necklace by adding a flower charm to a scrap piece of bracelet chain and then attaching a clasp to one end. Even though they might be plain by themselves, I think they are sweet accessories for this little outfit.
Well, I guess that pretty much covers how this Fairy Dress came!
But, before we go, Tink wanted to show y’all her new toy…

This is one of those fun Dollar Store finds. It’s a “Tinker Bell” Disney Infinity figure that was on clearance and I, being the fairy aficionado, couldn’t pass it up. Now little Tink has a toy (besides her crocodile) to play with. She is super proud of it if you can’t tell!
Feel free to leave a comment and let me know what you think about this version of a Disney Animator fairy dress. Stay tuned because Elsa is eager to show you her new attire and plus another dolly fun find!


Oh, thank you so much! You're so sweet!
Very nice! I love it!
LOVE the Cowgirl Shirt and Jeans. And don't feel guilty for using fabric you 'already had on hand' for the Fairy Dress instead of going out and buying what the pattern called for. As long as it works it just makes YOUR fairy dress more unique. Not to mention you probably saved yourself some money.
Signed, Treesa